GUI Library in Python - Tkinter
Introduction
Every day, you glance at windows on your phone/computer, click on links, and enter data into boxes. But have you ever considered attempting to create your own? Let's look at how to use Python and Tkinter to create our own window, or GUI, today. rough illustration of a GUI's potential appearance.
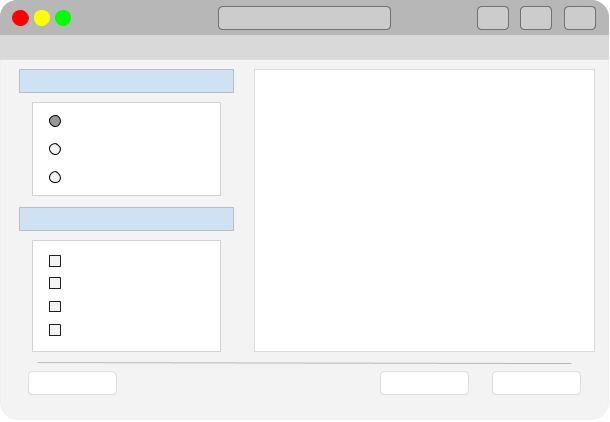
Example Desktop GUI
What Is A GUI?
Every time you use your computer or phone, you are more than likely utilizing a graphical user interface, or GUI (pronounced gooey). We were designed to connect with our electronic gadgets much more easily thanks to those brilliant rectangular windows with buttons, icons, and menus. Older techniques relied on text and the command line, such MS-DOS. Tkinter is a useful toolkit for learning the fundamentals of UI creation even if Python provides a variety of toolkits for creating your own GUIs. In these lessons, we'll concentrate on utilizing Python and the Tkinter library to create our own GUIs. To get you started, we'll go over some fundamentals like constructing an interface's window and understanding how to show pictures and text. With this information, you can start coming up with ideas for your own applications.
Anyone may utilize your Python programmes with safety and confidence by using a GUI. It gives "instant visual feedback" (i.e., alerts you when you've neglected to fill out a mandatory form, for example) and allows users to independently run Python scripts. make inaccessible technology usable for everyone by being simple and straightforward (especially for Linux)
GUI Library in Python - Tkinter
Python's default GUI package is Tkinter. It is a layer on top of the free Tcl/Tk widget toolkit that is object-oriented. Although there are more feature-rich packages for building a GUI, like PyQt, Tkinter is still widely used because it is straightforward, is frequently used by beginners, and has a tonne of references to get you started.
Creating A Window
Let's begin with the most fundamental concept first: creating a window. Utilizing Tkinter makes things surprisingly easy. Let's make a new basic_window.py file.
Not all that intriguing yet.
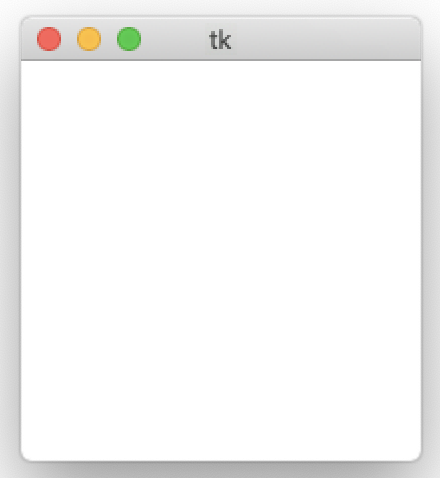
A small, blank empty window.
All of the Tkinter module's functions are imported in the first line. Although using import * is generally not a good idea, for the time being let's simply do it to make things easier. The Tk root widget is often initialized with the name root in line 2 (or master). Prior to creating any further windows, the root widget—the primary window and our parent window—must be constructed. Additionally, there can only be one root. The main event loop is then executed in the final line. Let's now examine how to make some modifications to our root window.
Let's see what has recently been added. We can use techniques linked to the root window in lines 4–8. We may modify the window's title at line 4. The window's background colour, as seen in line 5, may also be altered.
Additionally, a window's size can be changed. Lines 6 and 9 provide the window's minimum and maximum sizes, respectively. Let's finally discuss geometry (). Simply said, geometry enables us to think about how the window will appear when the application is initially executed. By supplying the width, height, x, and y coordinates, we can determine the window's initial size and where it will show on the screen. The window will appear in the top-left corner of the screen, at (0,0), if the x and y values are not specified.
Creating a Label
To provide your GUIs different features and functions in Tkinter, utilize widgets. The most fundamental widget, labels may show text or graphics. Launch the create label.py new file.
Let's examine the code mentioned above. We first import the Tkinter module before configuring the main window's settings. We construct a Label widget for text display in line 9. Our root window is the first argument, followed by the text we wish to show. The text in the next line receives a call to the pack() function, which resizes the window to fit the text (it "packs" a widget in the parent window). The label will also remain in the top-center area of the window even if the window size is changed. There are more methods, such as grid and put(), for positioning a label or other widgets in various locations ().
Images may be loaded into Tkinter in a number of different ways. We'll use a Label widget in this example to demonstrate how to accomplish it.
To load the desired picture file, we use the PhotoImage class at line 9. You can supply PhotoImage with your own picture file. The Label widget is invoked, but the text argument is modified to point to the picture we wish to show. Only GIF and PGM/PPG image formats may be loaded using the PhotoImage class. Pillow can be used in other ways to get around this.
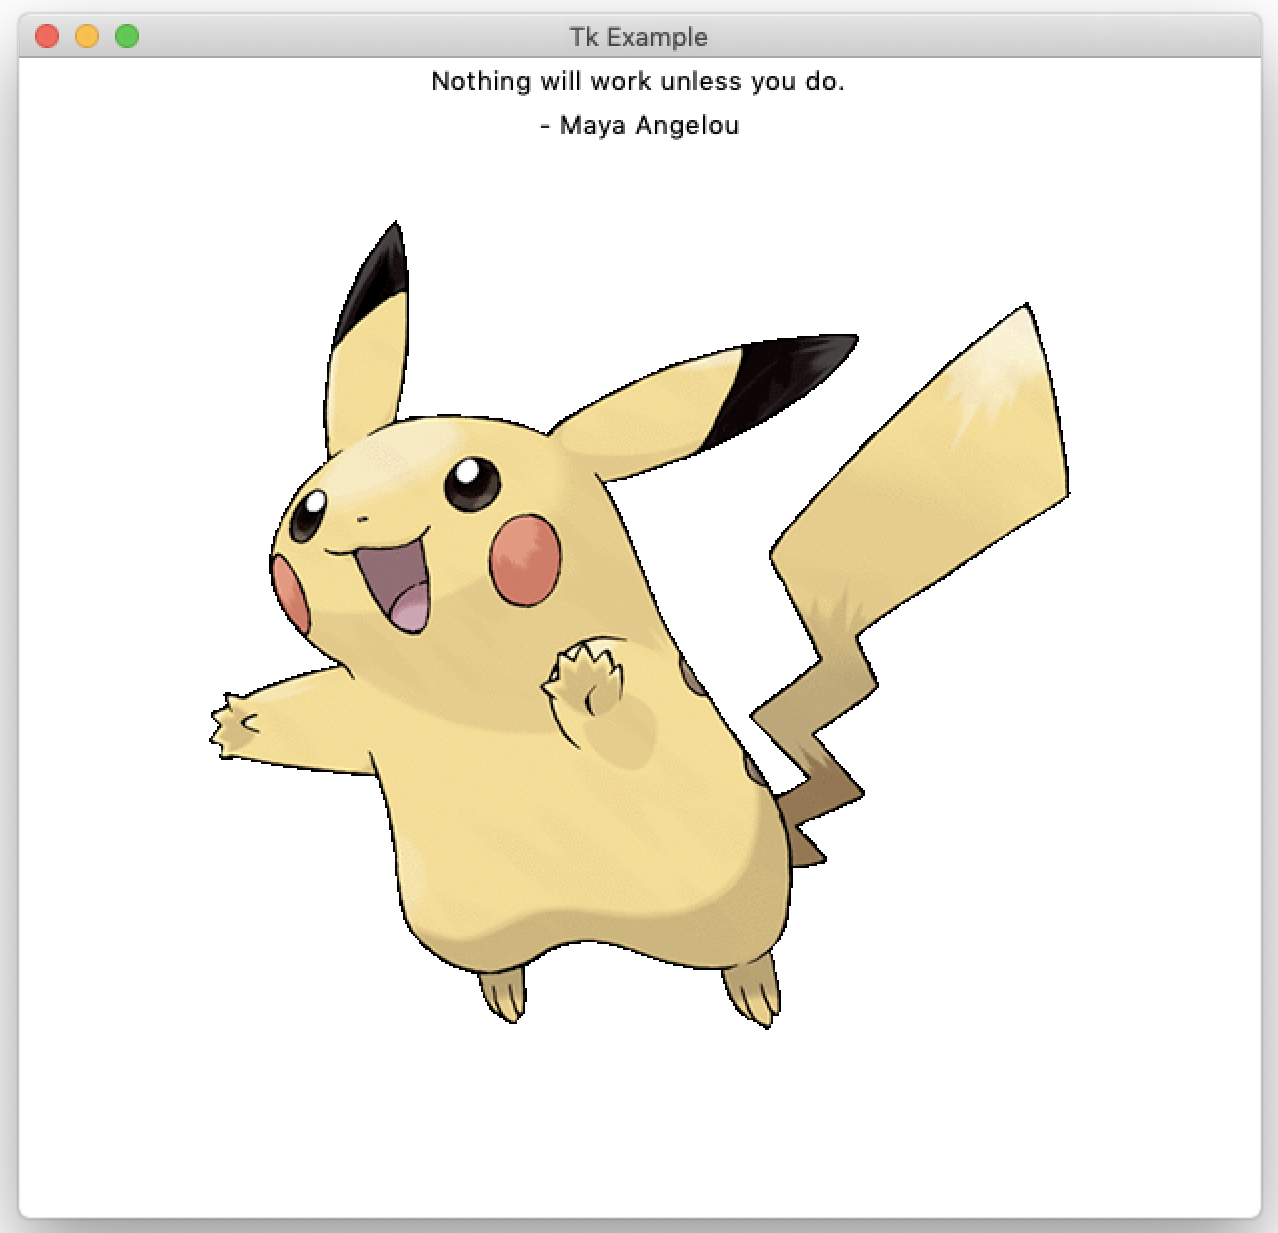
Window complete with text and an image.
It's vital to note how the pack() function presents the text and photos in this case. The parent window's placement of each Label is optimized. Using pack, we can additionally specify the widgets' relative locations (). Try experimenting by inserting your own graphics or text to observe how the window changes.
Summary
This article explained how to use Tkinter's Label widget to construct the parent window and add text or pictures. Next time, we'll talk about the design of our GUI and the three available approaches. Applying what you learn is very important. Spend some time experimenting with the geometry of the window or the text and images that can be displayed on labels.