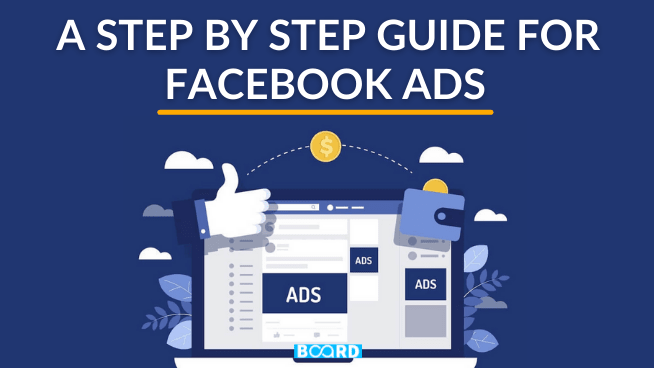
Step-by-Step Guide To Facebook Ads
As a Business, you need to stay ahead of the competition and make sure people are seeing your products and services and buying them. Customers who’re aware of the product and possess a need for it will surely buy it. Now, there is a tool that will help you target your audience based on their interests, behaviours, and other demographic factors--Facebook ads.
Facebook is a place where we connect with our family and all our friends and it currently houses 2bn+ monthly active users. That’s a huge reach potential for all businesses to tap into, and opt for targeted ads.
Let’s see how to create Facebook ads for promoting your brand.
1. Create a Campaign
There are two ways to go about this. One, you can go to the Ads Manager from your Business Manager account and then click on the ‘Create’ button. Now, Facebook has simplified this whole process and added a shortcut to your page itself. The second way is to click the ‘Promote’ button on the top right, which will get to a dropdown. You will see an Ads Manager option there too, which you can click on.
2. Choose Objective
Every campaign needs an objective to give it a direction. Measuring results then become easier. The objectives are split into 3 categories: Awareness, Consideration and Conversion. Each category is then split further into other options like website traffic, engagement, reach, store traffic etc. Choosing one objective will help Facebook suggest the best ad-option for you.
3. Target Audience
This is the next important step--to choose a target audience for your ad. The size of the audience comes first. You need to choose relevant sample size for aiming your ad. Always start low because, larger the number of people, more difficult will it be to get the message across. Then comes your demographic factors like age, sex, interests, location, income level etc. You may even use language-based targeting options, as for a country like India, multilingual ads would work the best. Interest-based targeting is quite useful too, as you can segment people as per their interest in a particular sport, a particular genre of books & magazines or their favourite movies too.
4. Decide the Ad Spend & Schedule
The ad tool lets you choose between two types of budgets: daily and lifetime. The daily budget lets you run your ad daily in the budget you’ve chosen. It will render its ads only up to the budget you have set, regardless of the performance of your ads. A lifetime budget meanwhile works for a specific duration, as per the start and end date. The difference here is, it is up to Facebook’s algorithm to adjust the daily spends as per ad performance on that particular day. It will even out the budget till the end you’ve set. Both types are suitable depending upon your objective. You can schedule the ads as per the hours of the day and week as per your strategy.
5. Create the Ad
This is the last step where you have to now put the ad content and the creatives in place. The different ad formats are videos, carousels, canvas ads, etc. Depending on the format you choose, there are image guidelines to be followed. Once you add the image and the text (which has character limitations), you can check the preview of the ad before you create one.
This is how you create Facebook Ads. The ad manager tool also lets you track your campaigns and their performance and other crucial metrics. It’s a great way to see what has worked for you and what has not. A lot of organisations use the A/B testing method to figure out which ad achieves their objectives in the best way.
Wanna have a complete tutorial on Facebook and Instagram Ads? Click on the video to watch it!
Social Media as a Job Platform